

Hapax
Your craftsmanship, our decking solutions
Your craftmanship, our wood screws
Under the Hapax brand, pgb-Europe offers a complete and high-quality range for any professional working in the timber sector. For decking construction, we have developed a complete ecological and sustainable system, from foundations to an aesthetic finish for deck boards. For joinery and timber construction, there is a fully coordinated line of screws with our specific point, the 'Hapax triple thread point', which guarantees a fast grip and low torque and virtually reduces the risk of splitting the wood.
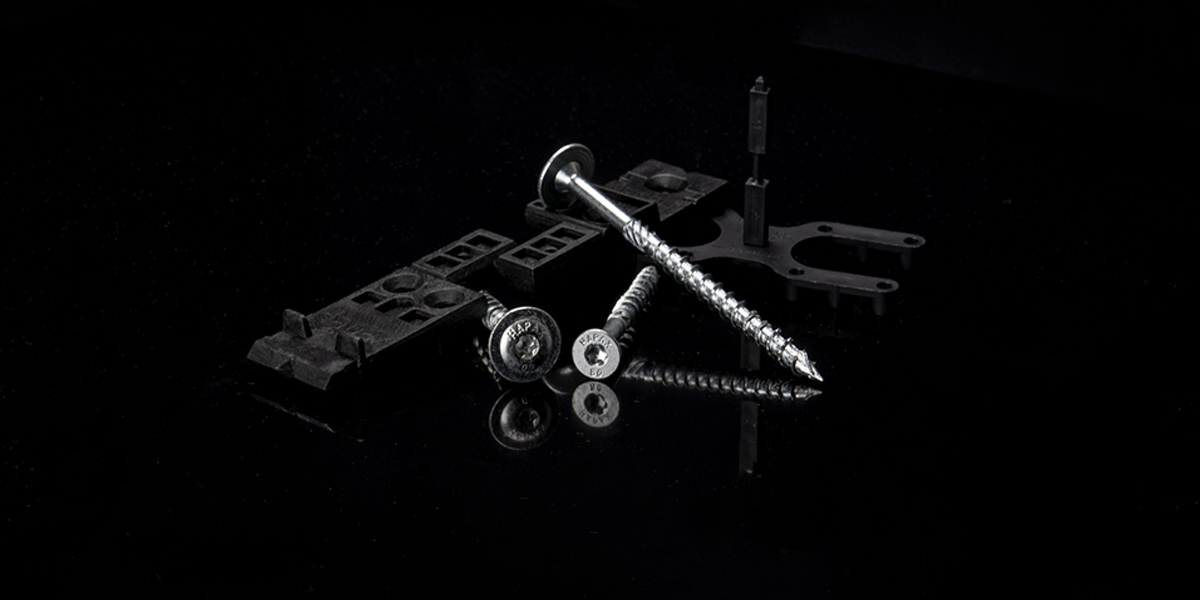
Hapax screws
Hapax's high-quality and patented wood screws are designed by pgb-Europe based on years of experience and are produced and packaged under strict quality requirements. They owe their popularity with the better craftsman to a lower screw-in torque combined with a high screw-in speed. The wood screws have also obtained an ETA rating and also bear the CE mark.
Decking fixings
Hapax offers 2 types of terrace fixings: Hapax D-Pro and Hapax Fixing Pro.
The Hapax D-Pro is a high-quality system for installing wooden decking. The system uses a clip that provides ventilation between the deck boards and the substructure. Ideal when the decking is visibly screwed down.
The Hapax Fixing pro is the hidden high-quality patented fastening system for installing wooden decks. As the screws are not visible, the system gives an aesthetic look to your terrace.
Decking supports
Hapax features 2 types of terrace supports: the Hapax Rock and the Hapax Atlas.
The Hapax Rock is an ecological screw foundation suitable for installing wooden terraces. Thanks to the Hapax Rock, it is no longer necessary to provide a concrete foundation. After installing Hapax Rock, you can immediately start building the terrace.
The Hapax Atlas, is an adjustable terrace support that is suitable for wooden terraces as well as concrete, ceramic and natural stone tiles. You can adjust the terrace bearers manually to the desired height.
Wedges and tools
In addition, Hapax also offers a range of wedges and tools. The Hapax tools serve when installing deck boards, deck screws, etc. With the wedges, you can fill in and level.
Hapax L-Boxx
The Hapax L-Boxx is a real must-have for every craftsman. The L-Boxx consists of a complete screw set of 15 different sizes and included bits. This innovative storage system uses a click system that allows you to connect several L-Boxxes together.
.png "collage hapax 1300 x 800")